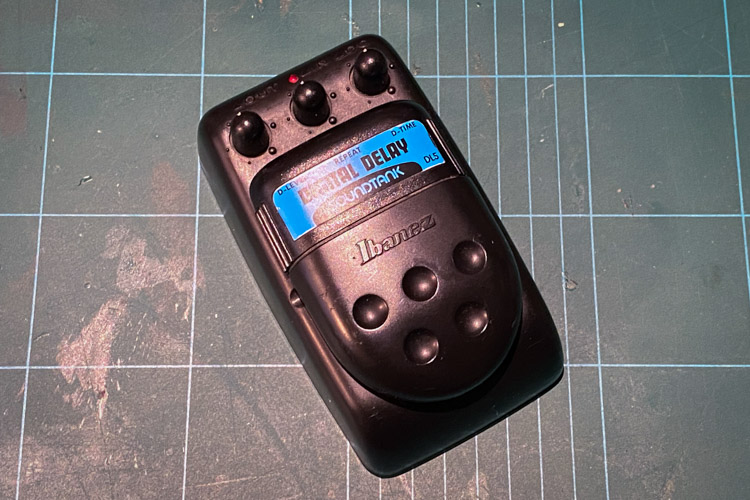
Ibanez Soundtank DL5 Repair
I’ve got a saved search setup on eBay where I keep an eye on cheap guitar pedals in case anything interesting comes up cheap. A couple of weeks ago an Ibanez Soundtank DL5 Digital delay came up for under £15 delivered, “untested”. This translated to works fine but the foot switch is broken so it’s stuck on.
The soundtank range was a budget range by Ibanez in the 90’s with a distinctive black plastic case. One promblem with them over time is the foot switches tend to die on them.
After some research I found replacements on SmallBear in the US. Given the current climate (2020 for future readers) I wanted to avoid ordering internationally and used the part number (ALPS SPPB512300) and found them on RS Components and I could collect 5 from a local branch.
In theory anyway, these actually came direct from Japan 🇯🇵 so were not ready next working day when I arrived. Kindly the store offered to send them on on arrival and save me having to go back. This was done free of charge and was most appreciated.
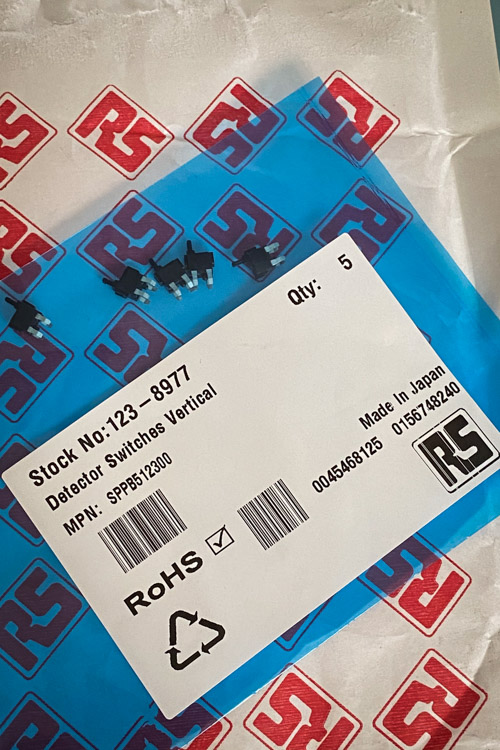
The ALPS switches are tiny and so it’s not overly surprising that they fail. RS describes them as a Detector Switch, so more in line with a micro switch than the 3PDT footswitch used by boutique builders.
The repair
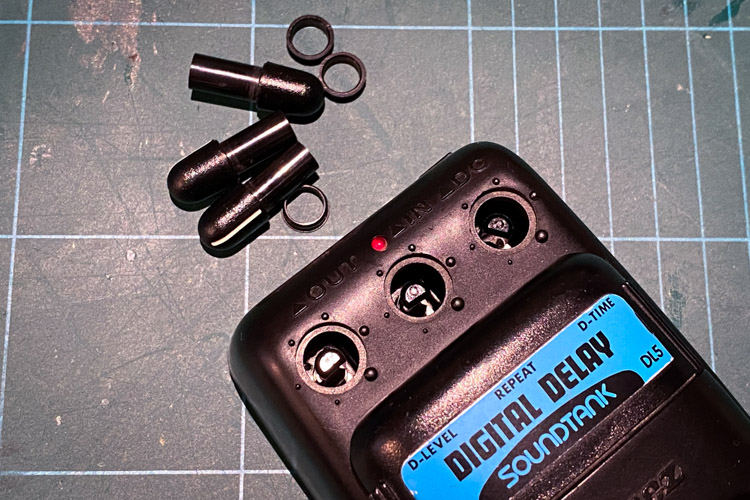
The first job is to remove the knobs. These just pull off from the top, just pull straight up from the pedal. It’s not too hard and I didn’t need to use any pliers. Other repairs seemed to advise removing the small rings around the knob holes. I don’t think you need to do this but if they come out easily or fall out then put them aside somewhere safe.
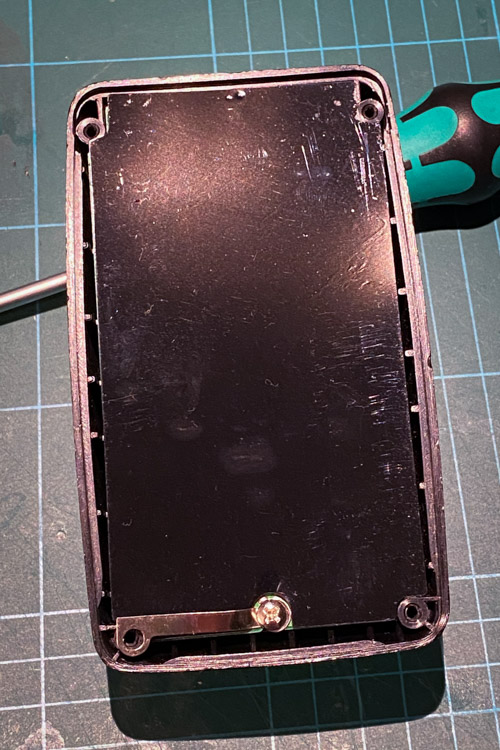
Next flip the pedal over and remove the base. This is held on with 4 #1 Phillps screws.

Under the base plate is an insulating plastic sheet and a ground strap from the PCB to the base plate. The ground strap will gound the base to act as a sheild so don’t lose it. One more phillips screw to remove.
Before you can remove the board you will also need to feed the battery clip from the compartment, just carefully feed it through into the case. The foam inside the battery compartment may have gone bad, mine had, so be careful to try avoid it if you can.
You also need to remove a small sub PCB holding the LED to the case. One more phillips screw holds this in place.
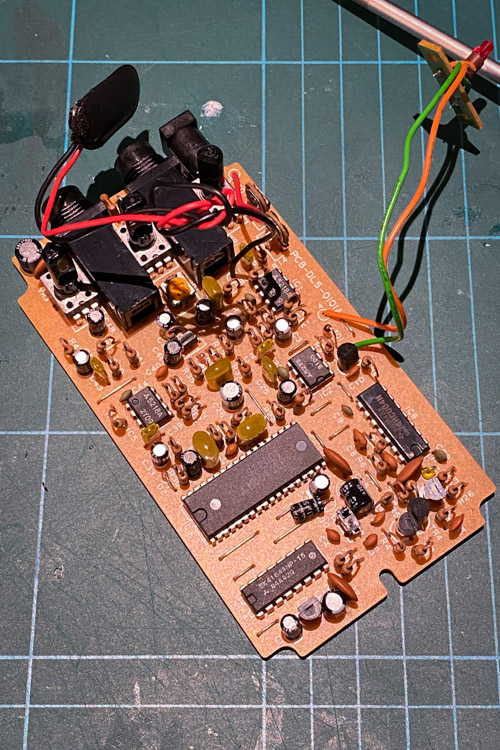
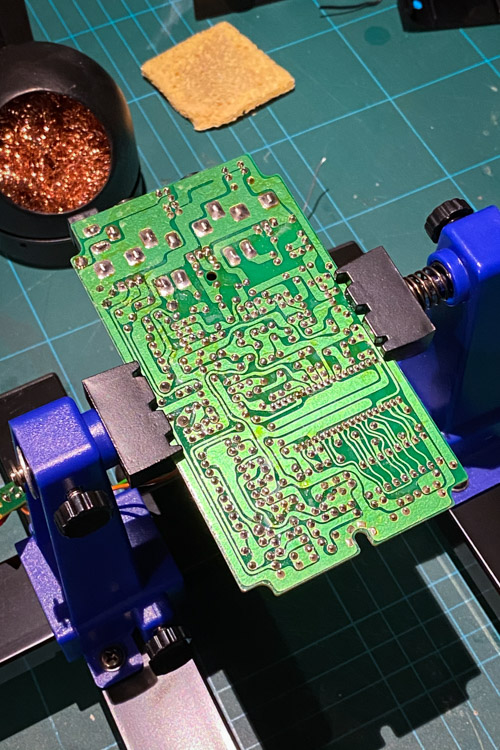
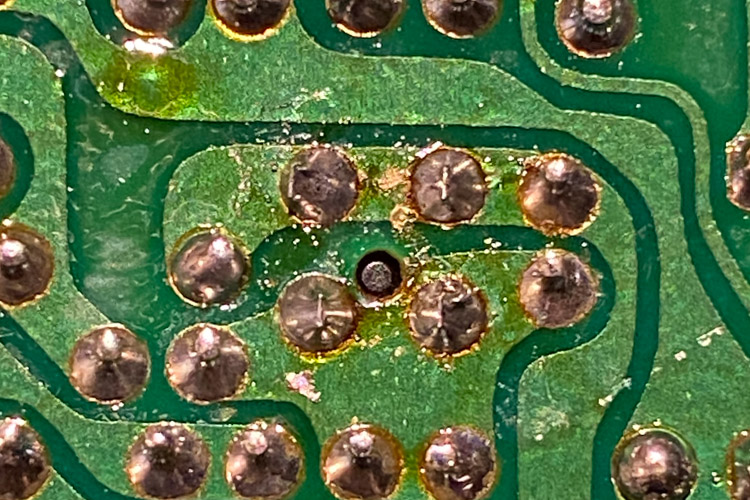
With the PCB out I located the 4 switch pins on the solder side of the board. To make things easier I put a small pen mark with a sharpie, though there is also a small hole in the board in the middle of them.
I used a PCB holder from Amazon for this repair. This was the first time I have used one but it was certaily a helpful purchase. These are cheap so I do recommend getting one if you ever work with PCBs.
I wanted to be as gentle on the PCB as I could removing the switch so tried to keep temps low. I started at 300ºC but I ended up turning up to 350ºC to get the solder to reflow. My iron takes a Hakko style replaceable tip so I swapped to a medium pointy tip. This allowed me to get the tip into the reasonably dense PCB and heat just what was needed.
I also tried to use solder wick to minimise wear and tear to the PCB, as it acts like a heat sink. Even with a bit of extra solder on the tip I struggled to remove the solder, so swapped back to my solder sucker. This worked great and inside a minute the switch was free.
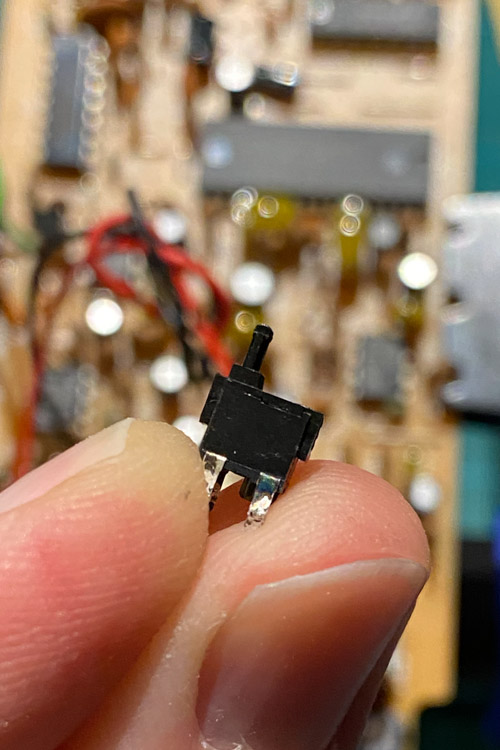
After double checking the switch orientation against a photo, always take photos before you take stuff apart, I put in a new one. To help hold it in place I bent one leg out slightly. I then soldered in the new switch with some 60/40 solder, though I probably should have used lead free but I struggle with it.
You can see the 1 bent leg here, top left. This was enough to hold the very light switch whilst all legs were soldered into place.
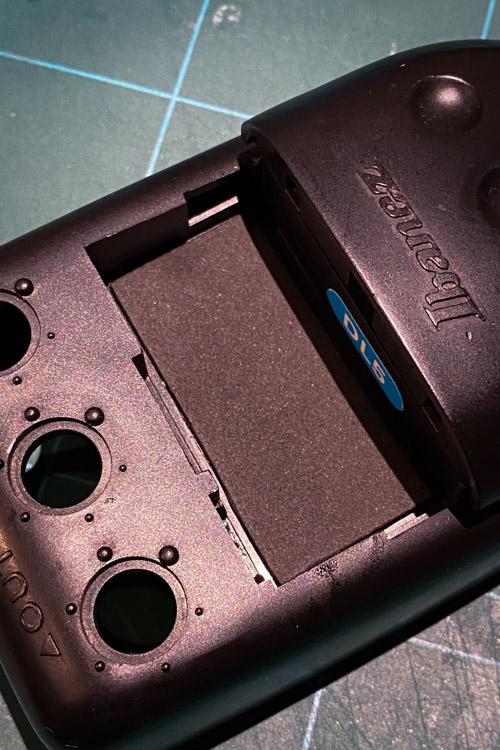
Before reassembely I cleaned the housing with some window cleaner and blue shop towel. I also scraped of the perished foam in the battery compartment and used IPA to remove the glue.
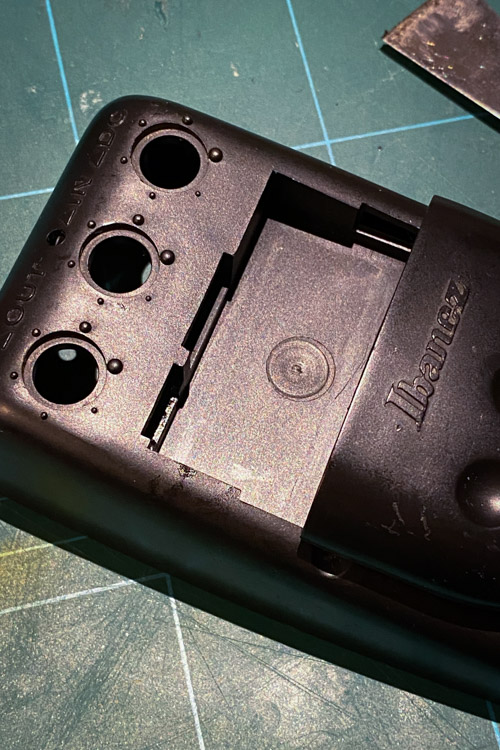
This was replaced with some self adhesive 2mm craft foam. This was a nice thickness and seemed to work well.
With that done reassembly is the reverse of disassembly as the Haynes used to say. Just be careful to try thread the screws back into the plastic how they came out and not cut new threads. Also make sure you don’t forget to put the battery clip back through and the earth strap.
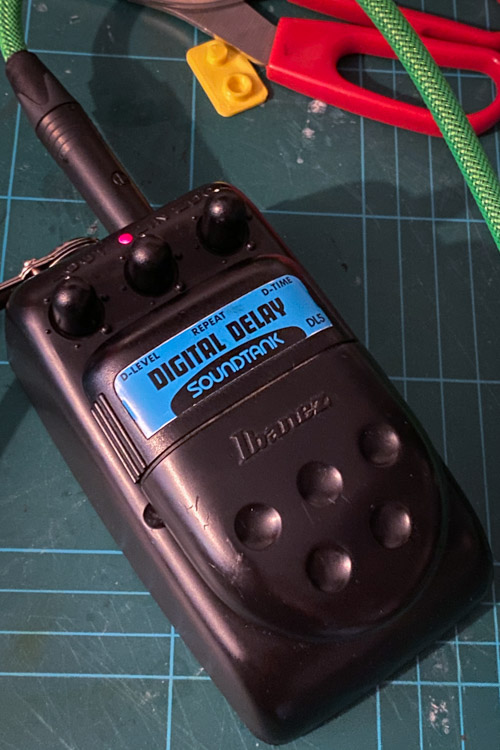
Once back together I tested with both a 9V and a power adapter and the pedal was back up and running and ready for years of more service. Once I get some non-pancake patch leads anyway.