Review: Printrbot Play
Back in June of 2016 I was lucky enough to win an online raffle and the prize was a 3D printer, something I’ve been lusting after for a long time.
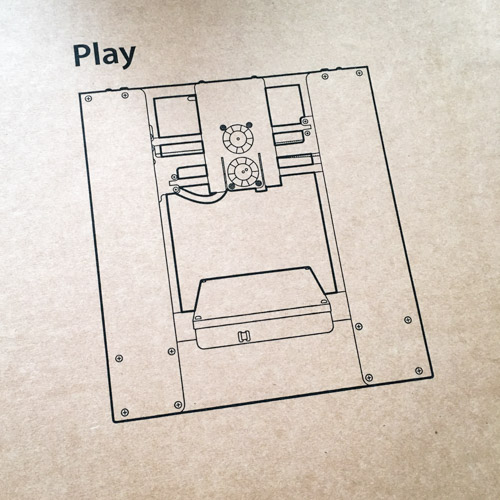
The prize was a Printrbot Play. This a small printer that comes fully assembled and ready to print.
Printrbot only sell to the US market so it took a while to arrive and it came with a US power lead. Fortunately the power brick took a standard IEC “kettle” lead, so I had a few lying around, and also handled the 240V mains just fine.
This is where the smooth sailing stopped. Following the instructions I fired up the printer, warmed the extruder and loaded the supplied filament. Using Cura 15 as specified I attempted to print the supplied calibration model. There was an obvious issue and it seemed that there wasn’t enough filament being extruded. I tried a 2nd print which was even worse. Mid way through the 3rd print the print head jammed completely solid.
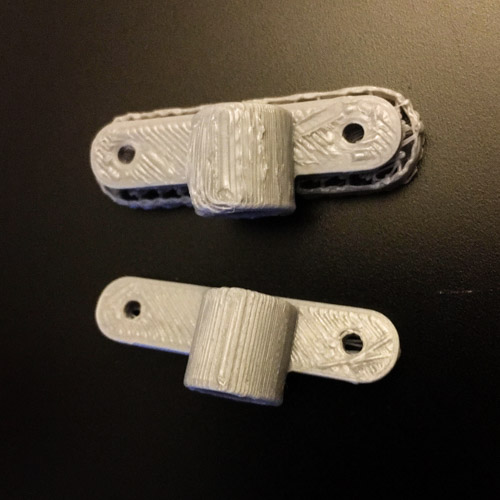
Printrbot support handled the issue well and sent out a new hot end to replace the old one1 and after some minor surgery and calibration I was back up and running.

3D printing is one of those things that takes some learning. It’s not like your inkjet where you can just click print. Theres settings to learn and understand and this all costs time and effort. Also whilst 3D printing is often called “rapid prototyping” it’s not fast, just faster then traditional means. This means learning takes a while.
I’ve now had the printer a while and I feel I can give it a fair review.
To run the printer I experimented with various slicing software, I tried Cura as recommended as well as slic3r and a few others. Both tools have pro’s and cons but ultimately the print quality from Cura2 was far superior.
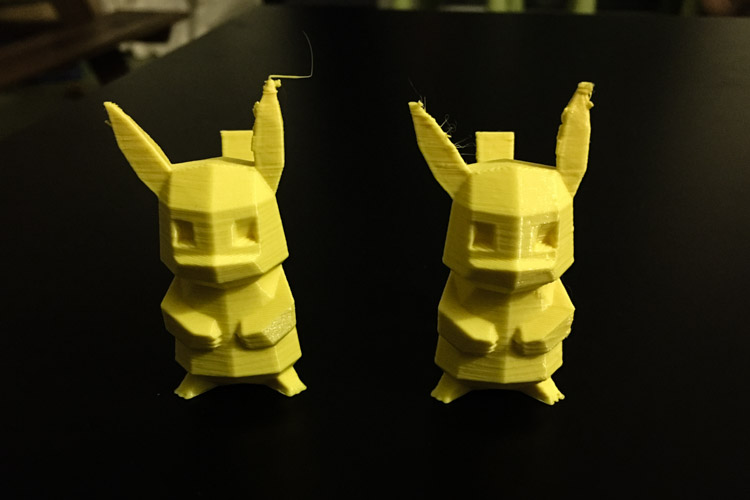
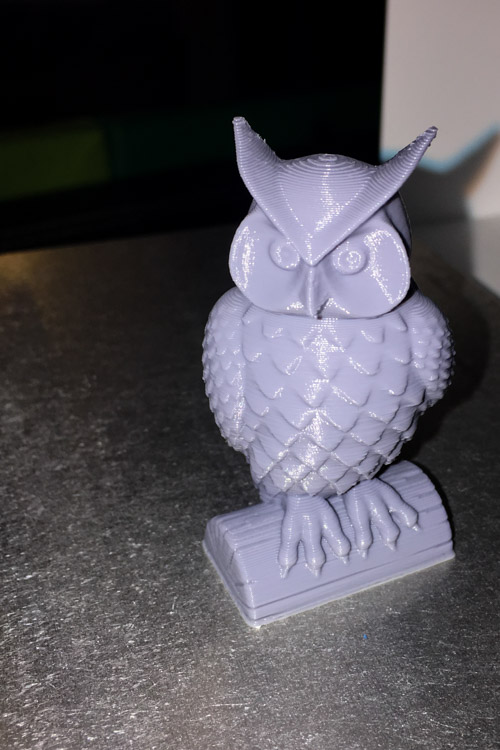
The print quality, when used with the right slicer, is really good and I’ve printed a lot of nice pieces. From the classic low-poly pokémon and the owl to more complex items like a helmet for a future costume the printer can produce good quality work.
The printer is not without it’s faults though. Like any product some compromises have been made, some that I feel make the product worse.
Most 3D printers come with a small display and a way to control the printer built in. The printrbot does not and instead relies on you either working tethered to a computer3 or using special file names on the microSD card to auto start prints when the printer first boots.
Whilst this works it’s incredibly frustrating as you either have to tie up a computer to see what’s happening or you are not able to check on progress or status. The addition of some kind of display and controls would disproportionally increase the ease of use of this machine in my opinion.
My second issue is the afore mentioned use of microSD cards, and the lack of an adapter in the box. I find the cards to be too small to handle easily and also struggle to get the card into the recessed slot. The lack of an adapter is also a problem as it means you have to order one in at an additional cost before you can print un-tethered.
I happened to have an adapter so was able to use the card but the instructions on how to use it required searching the printrbot support site. The fact these instructions were not on the main product instructions page maybe suggests that Printbot don’t want you to use this feature.
Printrbot also recommended the use of blue painters tape one the bed. Whilst my choice in tape probably is at fault I couldn’t get on with this and saw lots of warping. In the end I swapped to BuildTak and this proved to be considerably better.
Conclusions then?
The printer is in general pretty good.
The quality, which ultimately is the goal here, is good when you figure out the settings. However I feel that the size, lack of on printer controls and the fiddly microSD cards make this a complex recommendation. If you want a solid printer, for say in a classroom, with some of the higher end features, like auto leveling, and quality support then this might well be what you want.
If you’re more of a hacker at heart, perfectly at home fiddling and can spend the time on the device then you’re probably better off elsewhere. Spending the same money on something like a Wanhao i3 or one of the many DIY kits will probably better suit you. You might be giving up some of the high end features like bed leveling but you gain build volume and a heated bed.
-
This was not a like for like and I was sent the older ceramic design UBIS not the 13S the printer came with. Research has shown there was a big issue with a number of these 13S hot ends jamming completely due to a manufacturing problem. Seems I was just unlucky to get a “bad one”. ↩
-
I’ve just started trailing Cura 2.3 which now supports non-Ultimaker printers. I have contributed Play profiles which will ship in Cura 2.4. ↩
-
There’s software options for PC, Mac and Linux platforms. The recommended legacy version of Cura includes tooling to control the printer, however I tend to use a tool called Pronterface. ↩