First Grind
For many modern fountain pen users a custom nib grind is a right of passage. This involves taking a fountain pen to some person who will grind away the nib to change it’s shape and so writing characteristics. This is generally to make the horizontal and vertical strokes different widths.
Being a somewhat handy person, and happy to wreck stuff on occasion I decided to attempt this my self. After all the nibmeisters1 had to learn some how.
The plan was to take a stock medium sized nib for my Kaweco Sport which I wasn’t overly fond of, having replaced the nib for an extra fine, and to apply an italic grind to it. This gives a thinner horizontal stroke to a broader vertical.
To ensure I wasn’t making a complete mess of things a quick google was done and some instructions located. I followed some by Ludwig Tan: http://www.marcuslink.com/pens/aboutpens/ludwig-tan.html.
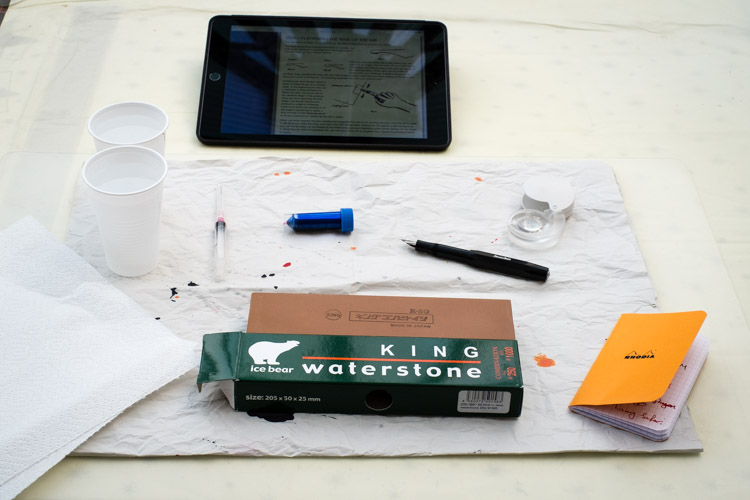
The equipment required isn’t expensive and I actually had all of it already. To do the actual grinding I used a 250/1000 grit water stone designed to sharpen tools.
I simply followed along the steps initially using only the 1000 grit but then moving to use both the 1000 and the courser 250 once I grew bolder.
Eventually I was happy with the rough shape. I could have gone further in a few dimensions but I figured I can always go back and remove more, take too much and it’s into the bin.
Rough shape established, the nib was smoothed with some micro-mesh and tested on my current favourite paper Rhodia.
The results were actually pretty good!
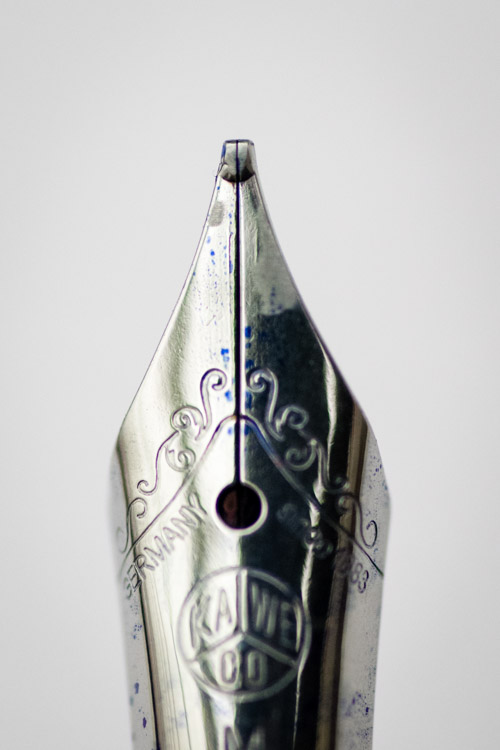
The front of the nib got a couple of scuffs where I got the angle wrong a couple of times but the shape is good and clean. You can clearly see there’s a lot of tipping material left but this doesn’t touch the paper so I doubt it’s a big deal.
Here again you can clear see I was rather light on the top of the nib, I’ll probably remove more once I’m happy. What you can also see is there is a lot of the stock round shape left on the front of the nib. I could have ground down more off the top to remove this but the shape was good and saves more work to re-smooth this later. Think of this as more of a cursive italic than a true italic. The rear shape was ground to a sharp edge then softened again by me.
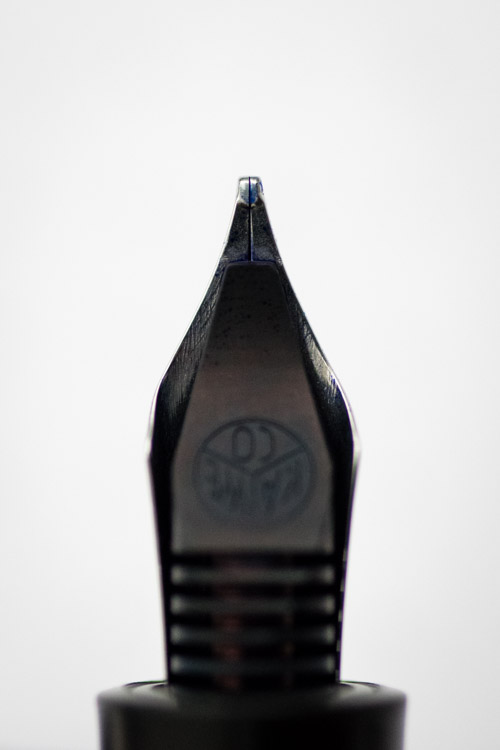
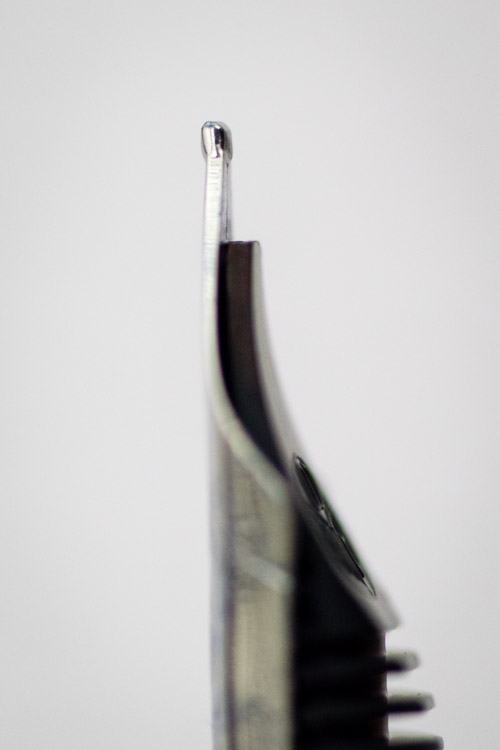
The business side of the nib probably came out the best which is fortunate! There’s only a thin layer of tipping left so I think I have the thickness about right. The side to side balance is about right but there’s a tiny bit of oblique, but practice would improve this I think.
After some smoothing, okay a lot of smoothing, the pen writes pretty well. Still a bit scratchy but I gather this is normal for this style of grind. I may try a bit more smoothing but I will wait and see how daily use goes first.
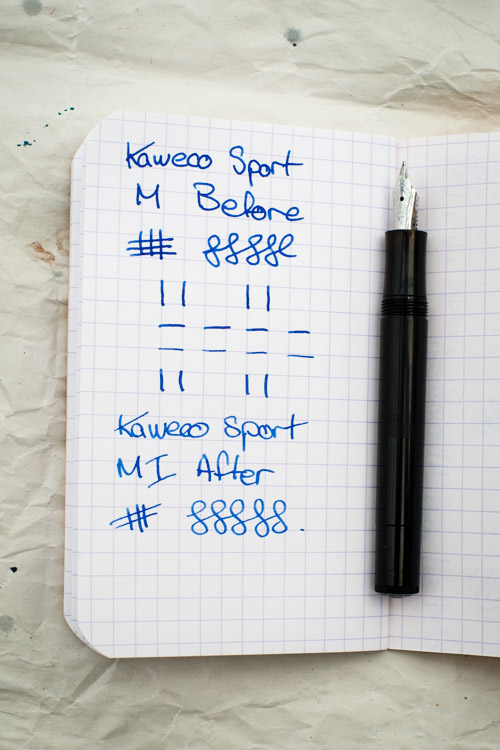
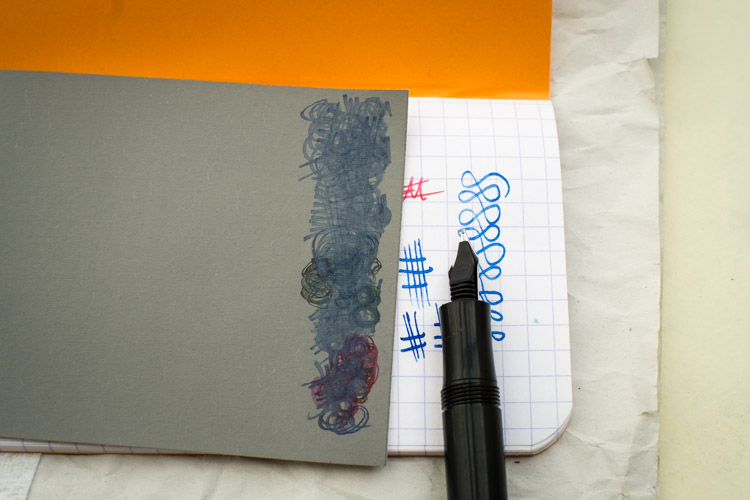
The comparison shows the grind has had the desired effect but isn’t super strong. A medium nib isn’t going to be able to give huge variation as the nib was never that wide in the first place. Maybe I’ll source a broad or double broad to try again.
Whilst this was a fun way to spend a Sunday morning I can’t see this being something I want to specialise in. Maybe I’ll grind a few other cheap pens like my Lamy Safari (perhaps an architect grind?) but I’ll never try it on an expensive or hard to replace nib.
For those who care the ink is Visconti Blue. The comparison test is via a dip which is why the after is a bit paler.
-
A nibmiester is the term used to refer to someone skilled at re-grinding a nib. ↩