Making The First Print
I got my first print in today’s post. It’s been a long time coming and a reasonable amount of work but was worth it.
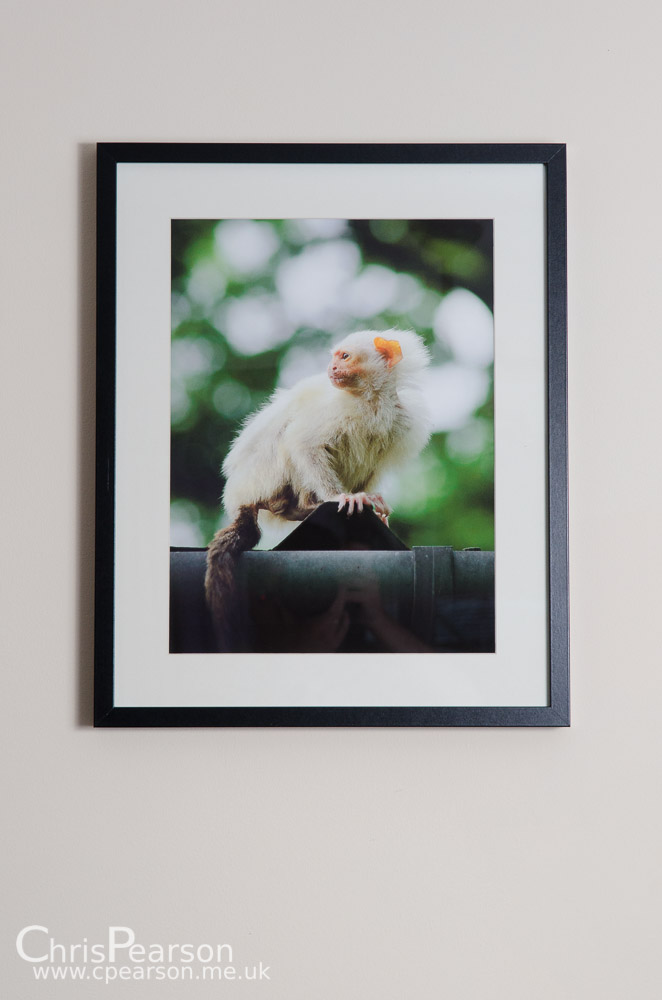
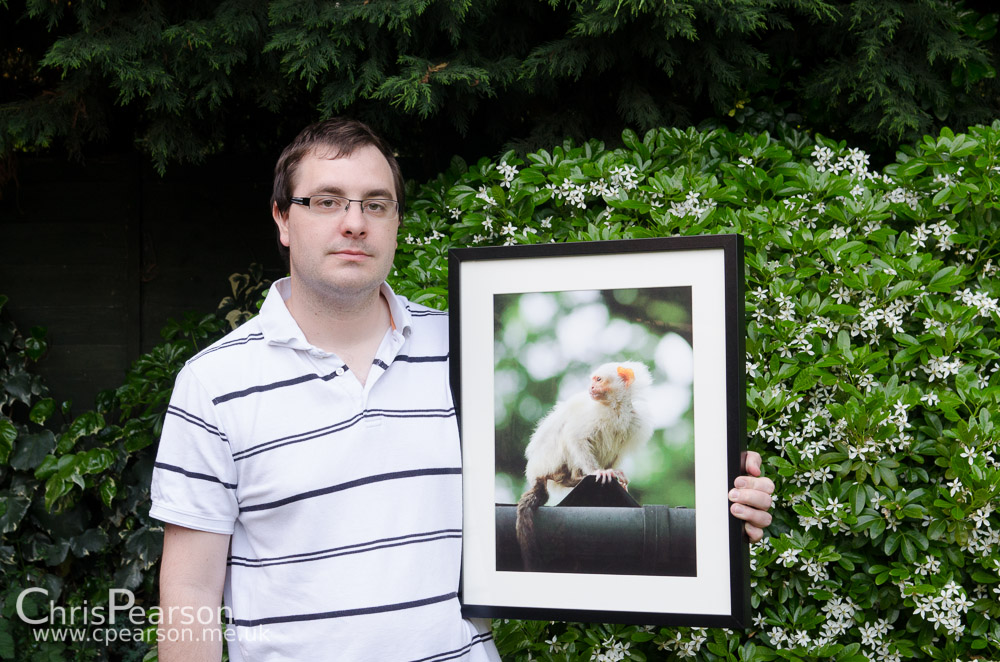
The print is the Silvery Marmosett shot I took at Whipsnade Zoo last year.
The frame came from IKEA and is a Ribba 50x40cm in black and cost £7 which is good value. The hanging mechanism isn’t ideal however and I’m not sure there’s enough wood to add a proper loop for the wire. The matt is cut with a 29 x 39 cm hole.
After ensuring I had the developing how I wanted I created a master jpeg file at 300ppi using Lightroom in the print module. I created a custom paper size 40 x 50cm and then set a cell size 30 x 40cm. The result is a print section with a 5cm white border, and also means the image will over fill the cut out by 5mm on all edges giving room for any slop in the frame. The other plus of this method is you can just line the print to the matt and stick it all in the frame, no mucking about taping prints. The down side is you’re stuck with the ratio of the matt unless you want to start ordering a custom one.
After exporting a jpeg that I would later send to print I opened it up in gimp and cut a 2” wide section down the middle and then expanded the canvas to 30” long. This is what The Print Space, who did all the printing, call a test strip. This is much cheaper than a full print and gave me a chance to check the colour, developing, sharpening and that I hadn’t over enlarged the image.
When the test came back great I ordered the final print, this was done on the same Hahnemuehle Photorag paper as the test. The quality of the print was great, and I will certainly be using them again. This was put into the frame, which was carefully cleaned first to try keep dust down.
Here is a shot of me holding the print to give you an idea of the size of the final work.